Showing posts with label Family. Show all posts

Wednesday, February 25, 2015

Frozen Winter Birthday Party Part 3 ~ The Slumber

Hi everyone! Welcome back to Hailey's frozen winter birthday party! (If you missed our last posts, you may like to read Frozen Winter Birthday Party Part 1 ~ The Preparations and Frozen Winter Birthday Party Part 2 ~ The Food and Dessert Tables.) Since Hailey's birthday party was also a slumber party, we created a frozen, winter, castle/tent for the girls to sleep. And..... since we asked the girls to wear their Frozen pajamas, for her party, we included a "chillin out" theme as part of our frozen winter theme.


First, Chris and Brice hung the bunting from the ceiling.
Next, Chris and I hung the draping on each side of the entryway.
And then, I set up tables and chairs in our office/playroom
for the girls to eat, paint, and play games.

Tuesday, January 6, 2015

It's A New Year, "Make Everyday A Happy Day"!

Hope everyone had a wonderfully blessed Christmas! Ours was fantastic! As we look forward to the new year, we are setting our goals. And while reading, perusing, and looking for inspiration for all of the projects we need to complete in our new home, I came across this quote. "Normal is getting dressed in clothes that you buy for work and driving through traffic in a car that you are still paying for - in order to get to the job you need to pay for the clothes and the car, and the house you leave vacant all day so you can afford to live in it" -Ellen Goodman. And I thought, wow this is so true! We get so caught up in this circle that we forget to just "really live" in our home, along the way. However, we don't want a vacant home. We don't want to be a part of that circle. We want to "really live" in our home and slow down to enjoy the moment. We want to "make everyday a happy day". This is what we are working towards. This is our ultimate goal. Afterall, that is why we purchased our new home which led to the name of our blog, Our Family Inspired Home. As for the work on our home, we finally, have all areas of our home livable (for those who are new to our blog, we purchased a foreclosed home that was empty for a few years and needs a lot of work). We have had a new furnace and central air system with all new duct work installed, have one major project in our home (Kitchen Renovation Part 1, Kitchen Renovation Part 2, Kitchen Renovation Part 3) almost complete, and all other rooms are usable (although, not pretty yet :) ). So, although there is still so much more to do, we are striving to "live" in our new home, slow down to enjoy the moment, and "make everyday a happy day".


Thanks for visiting Our Family Inspired Home!

We would love for you to follow us!

Thursday, October 23, 2014

Kitchen Renovation Part 3 ~ Putting Up The Walls

We hope everyone is having a great week! We are, finally, starting to see the end of our kitchen renovation! It's coming along nicely and we can't wait for it to be finished. As I mentioned in Kitchen Renovation Part 1 and Kitchen Renovation Part 2, we renovated our kitchen in sections as we worked our way around the room. However, the drywalling we tried to complete, as much as possible, at one time.


We used the T's Chris made
(to aid us in drywalling our Dining Room)
to hang our drywall in the kitchen.


Brice helped score and cut drywall.


And, of course, Hailey wanted to learn
how to score and cut drywall, too.


 Derek helped tape and mud.


 Nathan helped sand.

  
And then, Chris primed the walls.

  
Our rockstar, Super Drywall Girl, celebrated
with a little dance. 


We will be back next week to share what we did next!

Thanks for visiting Our Family Inspired Home!

We would love for you to follow us!


Thursday, October 9, 2014

Kitchen Renovation Part 1

When we purchased our new house we knew that the overall layout was perfect for our family. However, we also knew that the layout of our kitchen was not going to work for our family. The original placement of the stove was on the outside wall and in between the outside entrance door and basement door. Not only did this disrupt the flow of a walkway, but it was also dangerous. We were concerned about the possibility of a little one running in from the back door while having the oven door open. In addition, if anyone walked from our family room through the kitchen to go out the back door, he/she would have to walk by a hot stove or open oven door. So, we needed to redesign the space and move the stove.We, also, had a few other issues with the kitchen: the walls needed to be replaced, the cabinets were not sufficient, there was one florescent light, the flooring was in bad shape, and the placement of the sink meant that our refrigerator didn't fit. So, we gutted the whole kitchen and started over. After measuring, marking our walls and floors, perusing magazines, books, other blogs and, of course, PinterestHometalk, Houzz, and then rethinking our ideas, we finally came up with a plan for our new kitchen! Although our kitchen is smaller in size, it is far more  functional than it was before. If you're new here, you may like to read Our New Home ~ The Downstairs Before. And if you have been reading our blog for a while, you may have caught a few glimpses of our new kitchen in some our previous posts.

Just in case you missed it, this is what our kitchen
looked like when we purchased our home.


This is how it looked when we set it up to use for the weekends
we were here working on our house before we moved.
(Traveling Back and Forth)
(Atlanta, Cars, and a Job Well Done)


And this is how it looked after we moved.
(Moving Days)
Completely non-functional.....


We will be back next week to share what we did next!

Thanks for visiting Our Family Inspired Home!

We would love for you to follow us!
Bloglovin
Facebook
Pinterest
Twitter
Google +

Thursday, March 27, 2014

Dining Room ~ Putting Up The Walls

Goodness, it has been a very long winter! We are sooooo ready for spring. And as soon as spring is here, we will start working outside. Our plan is to work as much as we are able outside during spring, summer, and fall, as the weather allows. And, work on the inside of our home in the fall, winter, and spring when the weather is not so great. Our goal has been to make our home livable and then later get to the fun stuff. So, this means that many of the projects we started in our home will not be fully completed until later. Today, we are sharing our dining room. Although we, usually, eat together in our sunroom which is off our family room, we have already used our dining room for Thanksgiving, Christmas, and birthday parties. I love having a formal dining room!


This is how our dining room looked
on the day we purchased our new home.


Chris got to work drywalling and mudding.


Then, Brice helped sand.


Chris primed the walls and ceiling.


Chris and I puttied the windows.


And then, we started painting the windows.


And here's a tip. Chris built 2 T's out of 2x4's
to help hold the drywall up against the ceiling.

Or, you can use it as a balance beam to 
entertain the little ones.....


Here's a sneak peek of our dining room.


And just in case you missed it, you can see how
our dining room looked for Hailey's birthday in our posts:
(Hailey's Birthday Strawberry Shortcake Part 2
and
Hailey's Birthday Strawberry Shortcake Part 3)

We still need to replace the floor and lighting,
add crown molding, baseboards, and wainscoting.
So, it will be a while before we show
our dining room reveal.
But, for now, it's done.

We would love for you to follow us!
Facebook
Google +
Twitter
Pinterest
Hometalk

Thanks for visiting Our Family Inspired Home!

Monday, March 24, 2014

Brice's Room: The Cleanup

Welcome to Maintenance Monday! Thank you so much to everyone who takes the time to read, comment, and follow our blog. We, truly, appreciate all of you! Today we are sharing Brice's room. As you know, we purchased a foreclosure (it sat empty for a few years) and we have spent most of our time trying to make our new home livable. So, our focus has been on what we and our home need. Many hours and hard work have been spent on cleanup. If you are new to our blog, you may like to read: Our New Home ~ The Downstairs BeforeOur New Home ~ The Upstairs Before and Our New Home ~ The Outside Before. So far, we have: cleaned up the outside, scrubbed the inside, made the bathrooms functional, repaired the front stairway, added what we needed so we could hook up our stove/oven, washer and dryer, new water heater, gutted the kitchen, added a half-wall, had a new furnace, central air, and all new duct work put in, and so many other projects that are way too many to list. With the exception of the furnace, central air and duct work, we did and do all of the work ourselves.


This was Brice's room when we purchased our home.


We pulled up the carpet.


And, under the carpet we found this.


We cleaned up the dirt.


Then, I scrubbed EVERYTHING in Brice's room.

We still need to drywall, paint,
replace the windows,
decide what to do about the floor,
(it's painted wood)
add a rug, and a few other items.
But he is able to use his room.
So, for now, his room is done.


And, here's a sneak peek of the decor for Brice's room.


Currently, we are working on our kitchen.
Hopefully, we can get to the fun stuff
(decorating/landscaping) soon!

Don't forget to follow us on Facebook, Google +TwitterPinterest, and Hometalk!

Thanks for visiting Our Family Inspired Home!

Monday, March 17, 2014

Repairing The Stairway

Welcome back to Maintenance Monday! We have been so busy that it has been difficult to keep up with our blog posts. But, busy is good. We are getting lots done! One of the first things we needed to repair when we moved in to our new home was the front stairway. It was blocked off for safety. We have two stairways; however, the back stairway leads to our master bedroom. So, to avoid all the nonstop traffic through our bedroom, we needed to repair the front stairway.

If you are new to our blog,
you may like to check out our house tour  
when we purchased our home.


This is how our stairway looked when we purchased our house.


The posts were missing and 2X4's were used
to block the top and bottom of the stairs.
They say, "Danger" and "Do Not Enter".


As I mentioned before, the house was a foreclosure
and was empty for a few years.
Someone set a 2x4 under the railing, drove
a nail/screw through, and split the railing.


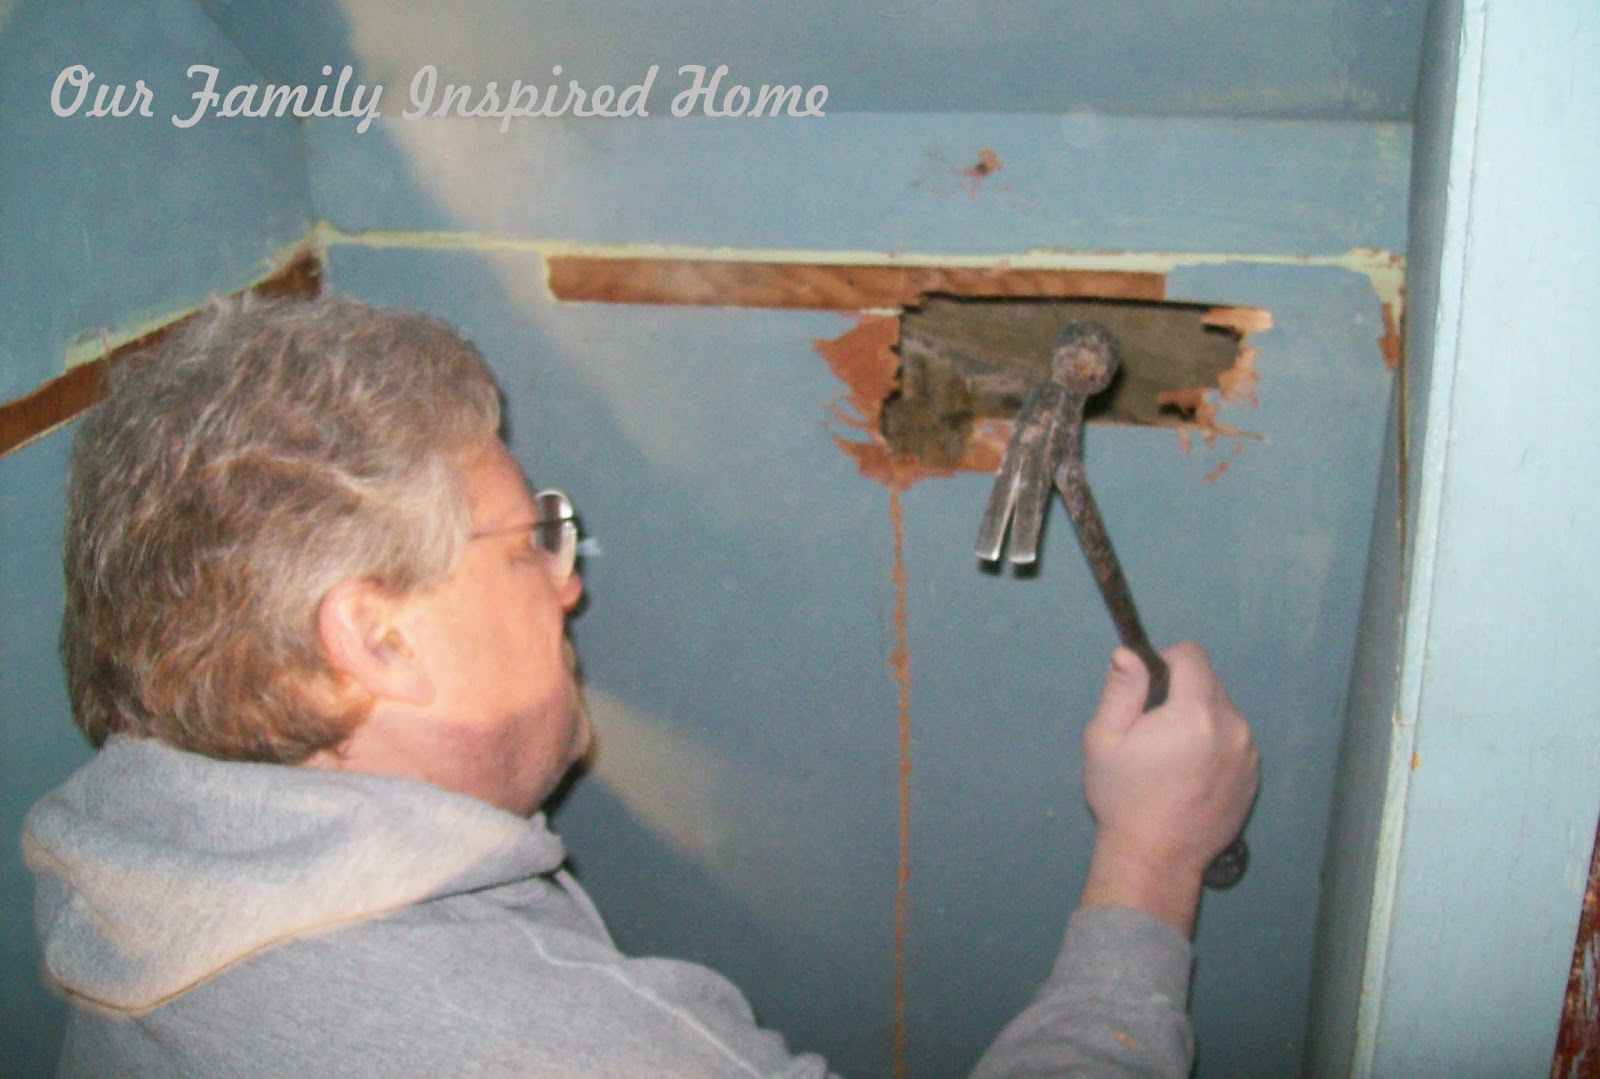
This is the entryway closet underneath
the stairs. It opens in the playroom/office.


The stairs and rail were already
painted and need to be redone.
After we drywall the foyer,
I will sand and repaint.
Someday, I would like to strip off
the paint and stain the stairway.

What do you think, paint or stain?

Thanks for visiting Our Family Inspired Home!

Follow Our Family Inspired Home on