
Showing posts with label Downstairs. Show all posts
Showing posts with label Downstairs. Show all posts
Monday, March 9, 2015
Kitchen Renovation Part 6 ~ Counter Tops
Welcome back to our kitchen renovation! We hope you had a great weekend! Although we still have lots and lots and lots of snow, the temperature warmed up a little bit. So maybe spring will be here soon! If you missed our previous posts about our kitchen, you may like to read Kitchen Renovation Part 1, Kitchen Renovation Part 2, Kitchen Renovation Part 3 ~ Putting Up The Walls, Kitchen Renovation Part 4 ~ Our DIY Customized Microwave Cabinet Out Of A Stock Cabinet , and Kitchen Renovation Part 5 ~ Our DIY Furniture Style Cabinets Out Of Stock Cabinets. You will have a much better idea as to where we started and how far we have come with our kitchen renovation. When we had first started planning our kitchen, we were going to purchase beautiful granite counter tops. However, when it came time to actually move forward with our kitchen the granite I had picked out was not really a feasible option. Therefore, we decided to go in another direction. I had seen many great kitchens with butcher block counter tops and loved the contrast between light and dark (I had already planned to use white cabinets with a dark wood floor.), so we decided to make our own wood counter tops. We weren't sure how well they would work out, but thought we would give them a try. There are many tutorials to follow, but we used a combination of these two: The Shabby Creek Cottage and Breakfast For Dinner By Loraine. They were really quite easy to follow.

Wednesday, March 4, 2015
Kitchen Renovation Part 5 ~ Our DIY Furniture Style Cabinets Out of Stock Cabinets
Hi everyone, we hope everyone had a wonderful weekend! Welcome back to our kitchen renovation! If you are new to our blog and have missed our prior posts about our kitchen renovation, you might like to read Kitchen Renovation Part 1, Kitchen Renovation Part 2, Kitchen Renovation Part 3 ~ Putting Up The Walls, and Kitchen Renovation Part 4 ~ Our DIY Customized Microwave Cabinet Out Of A Stock Cabinet. As I mentioned in our previous posts, we were using our kitchen and trying to stay on a budget while renovating. So, although it would have been wonderful to complete everything at one time, we needed to complete our kitchen in stages. When we were planning our kitchen, I did a lot of perusing in magazines, books, and the internet to get an idea as to what would work for our kitchen. I liked the aesthetic as well as the functional aspects of drawer cabinets, as oppose to door cabinets. To get the look and function we wanted without the extra cost, we purchased stock cabinets and painted them white. We loved our new cabinets, but they needed a little extra something. I wanted a built-in look without the expense. When I saw this idea at Cuckoo 4 Design, I knew it was the perfect solution! So, we decided to extend the counter length (we made our own) past the end of the cabinets and add posts to give the base cabinets a furniture style look.

This is how the cabinets looked when we started.
Thursday, January 8, 2015
Kitchen Renovation Part 4 ~ Our DIY Customized Microwave Cabinet Out Of A Stock Cabinet
Welcome back to our kitchen renovation! If you are new to our blog, you may like to read (Kitchen Renovation Part 1, Kitchen Renovation Part 2, and Kitchen Renovation Part 3 ). Finding kitchen cabinets to suit our needs, as well as look the way we wanted, was proving to be a challenge. I wanted our upper cabinet to have two side by side doors, but could only find 24 inch cabinets with one door. I, also, wanted a 36 inch pantry cabinet with two side by side doors, but could only find 18 inch and 24 inch pantry cabinets with one door. I wanted our microwave to be under our counter, but we couldn't find an under the counter stock microwave cabinet. Customized cabinets were out of the question. So, of course, we made our own!


For the upper cabinet and pantry,
our solution was simple.
We purchased two, 12 inch, stock cabinets
(instead of one 24 inch cabinet)
to hang side by side and, then,
reversed the door on one of the cabinets
so they would open facing each other.
We, then, purchased two, 18 inch, stock pantry cabinets
(instead of one 36 inch cabinet)
and reversed the doors on one of the cabinets.
Genius!
Chris, then, painted all of the cabinets
and added molding to top of our cabinets.
Our solution to the microwave cabinet took
a little more thinking and a little more work.
Chris was sure he could make a cabinet,
but wasn't so sure about the drawer
I wanted underneath the microwave.
So, we decided we would try
to make what I wanted
out of a stock base drawer cabinet.
After taking out the top two drawers
and cutting the braces out,
Chris added a piece of wood
to sit on brackets he made
to hold our microwave.
He, also, added dowel rods in the drawer
because I wanted to keep
our everyday dishes in the drawer
which helped to organize the space into sections.
They all turned out great!
A simple, beautiful, economical solution
to get the aesthetic look we wanted
with a financial budget we could afford!
Come back next week to see how we customized
our base cabinets to get the look we wanted
without the added expense!
Thanks for visiting Our Family Inspired Home!
We would love for you to follow us!
Thursday, October 16, 2014
Kitchen Renovation Part 2
Today we are sharing the demolition of our kitchen renovation. If you missed how our kitchen looked when we purchase our home and when we moved in, you may like to read: Our Home, Moving Days, and Kitchen Renovation Part 1.We needed to do our kitchen in stages because we needed to make our home functional and work within our financial budget. So, we started on one side of the room and worked around the room as we were able. Yes, in most cases it would be better to just demo and put the room back together all at one time. However, that was not true in our case. We were trying to make our home livable and functional. Then, proceed with what we wanted. Need won out against want. Since we needed to be able to use the kitchen, while trying to do all of the other work in the kitchen, we were concerned that the new flooring would be damaged. So we also, needed to work around the old flooring as long as possible.


Chris and Brice got to work taking out the old cabinets.
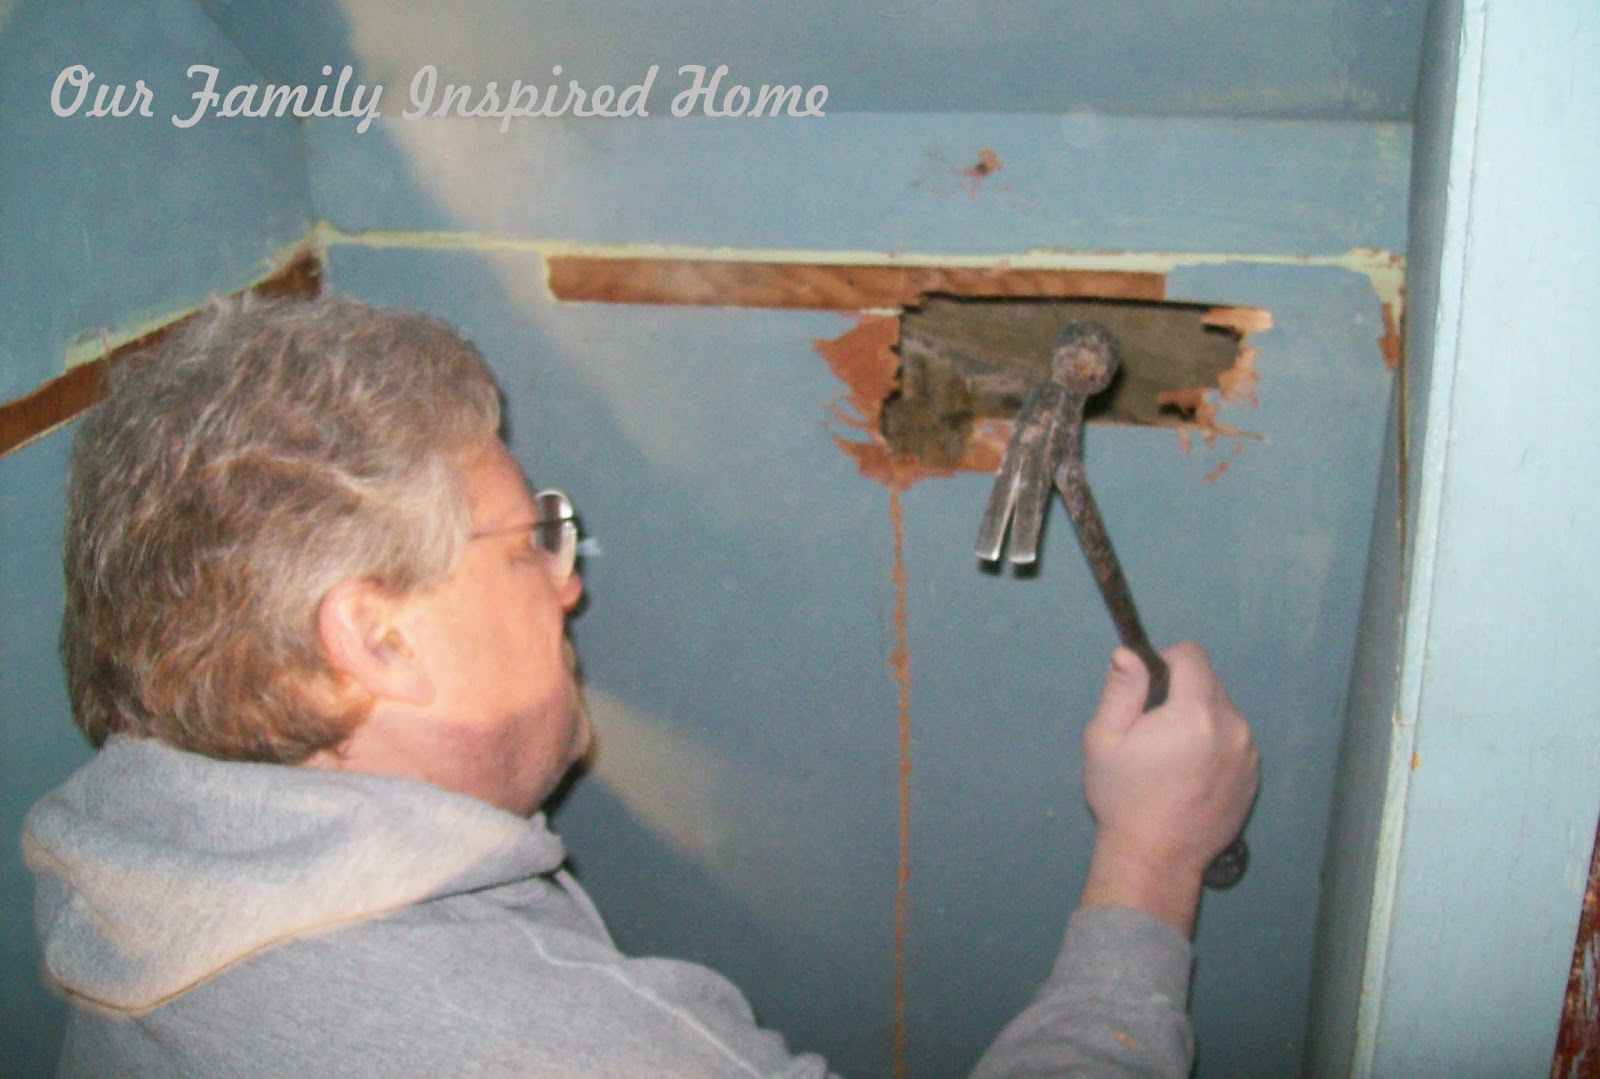
Then, Chris started gutting the walls and
ceiling.
We found a few interesting things in the ceiling.....
Hailey wanted to help.
And then, we cleaned up.
We saved the nails we pulled out of the lath.
We will be back soon to share what we did next!
Thanks for visiting Our Family Inspired Home!
We would love for you to follow us:
Thursday, October 9, 2014
Kitchen Renovation Part 1
When we purchased our new house we knew that the overall layout was perfect for our family. However, we also knew that the layout of our kitchen was not going to work for our family. The original placement of the stove was on the outside wall and in between the outside entrance door and basement door. Not only did this disrupt the flow of a walkway, but it was also dangerous. We were concerned about the possibility of a little one running in from the back door while having the oven door open. In addition, if anyone walked from our family room through the kitchen to go out the back door, he/she would have to walk by a hot stove or open oven door. So, we needed to redesign the space and move the stove.We, also, had a few other issues with the kitchen: the walls needed to be replaced, the cabinets were not sufficient, there was one florescent light, the flooring was in bad shape, and the placement of the sink meant that our refrigerator didn't fit. So, we gutted the whole kitchen and started over. After measuring, marking our walls and floors, perusing magazines, books, other blogs and, of course, Pinterest, Hometalk, Houzz, and then rethinking our ideas, we finally came up with a plan for our new kitchen! Although our kitchen is smaller in size, it is far more functional than it was before. If you're new here, you may like to read Our New Home ~ The Downstairs Before. And if you have been reading our blog for a while, you may have caught a few glimpses of our new kitchen in some our previous posts.


This is how it looked when we set it up to use for the weekends
we were here working on our house before we moved.
(Traveling Back and Forth)
(Atlanta, Cars, and a Job Well Done)

And this is how it looked after we moved.
(Moving Days)
Completely non-functional.....

Just in case you missed it, this is what our kitchen
looked like when we purchased our home.
This is how it looked when we set it up to use for the weekends
we were here working on our house before we moved.
(Traveling Back and Forth)
(Atlanta, Cars, and a Job Well Done)
And this is how it looked after we moved.
(Moving Days)
Completely non-functional.....
Monday, March 17, 2014
Repairing The Stairway
Welcome back to Maintenance Monday! We have been so busy that it has been difficult to keep up with our blog posts. But, busy is good. We are getting lots done! One of the first things we needed to repair when we moved in to our new home was the front stairway. It was blocked off for safety. We have two stairways; however, the back stairway leads to our master bedroom. So, to avoid all the nonstop traffic through our bedroom, we needed to repair the front stairway.




If you are new to our blog,
you may like to check out our house tour
when we purchased our home.
This is how our stairway looked when we purchased our house.
The posts were missing and 2X4's were used
to block the top and bottom of the stairs.
They say, "Danger" and "Do Not Enter".
As I mentioned before, the house was a foreclosure
and was empty for a few years.
Someone set a 2x4 under the railing, drove
a nail/screw through, and split the railing.
This is the entryway closet underneath
the stairs. It opens in the playroom/office.
The stairs and rail were already
painted and need to be redone.
After we drywall the foyer,
I will sand and repaint.
Someday, I would like to strip off
the paint and stain the stairway.
What do you think, paint or stain?
Thanks for visiting Our Family Inspired Home!
Follow Our Family Inspired Home on
Wednesday, November 13, 2013
Our Home ~ Autumn 2013
As we live in the middle of unfinished rooms and in between the never ending unpacking and sorting, I decided we needed some "pretty". So, we have dug through containers to find autumn décor while embracing pink walls and blue trim. Today I'm sharing our sunroom which is the room that is off our family room. Actually the sunroom, family room, and kitchen are all open to one another. (If you didn't get to read or see the before pics of the rooms when we purchased our new home you can read/see them here, Our New Home ~ The Downstairs Before and Our New Home ~ The Upstairs Before). We eat all our meals in the sunroom. The only things we have done in this room, so far, are: repair a hole in the ceiling, wash the windows, and clean the floor. I like to use neutral colors for the base of our home. I like the way the neutrals look for everyday use and it's easy to change out our accessories, such as pillows, candles, throws, etc. for the seasons and holidays. I'm thinking the orange doesn't look so bad next to the blue trim and, thankfully, the pink walls are faint, so not so noticeable. I, absolutely, love the windows in this room.


And here's a little tip. Instead of purchasing items to fill up our baskets,
I fill and lift the candles with rolls of toilet paper.


Yes, we still have a lot of work to do on our home. The list goes on forever. But, we have accomplished a lot! Recently, we have gutted our kitchen and hooked up our stove (woohoo!), hooked up our washer and dryer (yay!), emptied many boxes to give us more space to walk room to room and although not finished, we are able to use our dining room. Hopefully, we will be able to share our autumn porch soon!
Thanks for visiting Our Family Inspired Home!
Tuesday, September 3, 2013
Our New Home ~ The Downstairs Before
Yay! Thankfully, we now have air! Of course, the weather is suppose to cool down a little this week and we may not need it, but we are so happy to have the furnace and air, almost, complete. Last week, we shared pictures of the outside of our home that were taken on the day we purchased our house (Our New Home ~ The Outside Before). Today, we will share the downstairs "before" pictures. It will be a while before we will have "after" pictures. These pictures I, also, took last year, on the day we bought our house. When we bought our house we thought the layout was great for our family and it had plenty of space. We could see the potential and knew what the house could become. After being here for two months, we are, even, more excited to make it into the home we envisioned, last summer. Recently, we were fortunate to have the opportunity to see older pictures our house. It was such a lovely house. It will take a lot of work, but we hope to make it lovely again!


Enter the front door and there is a foyer. To the left is the stairway,
to the right is the parlor, and straight through is the office/playroom.


Parlor

Dining room

Office/Playroom

Bathroom

Sunroom/Eating area (Part of the family room.)

Family room
(To the left are the kitchen and bar area.)
(The kitchen, sunroom, and family room are all connected)

Family room
(You can see the side porch through the door and window.)
(Also, behind the door that Chris is working on there is a back stairway to the upstairs.)

Kitchen
(Hard to see, but the deck is off the back door.)

Kitchen

Hope you enjoyed our tour!
Thanks for visiting Our Family Inspired Home!
Subscribe to:
Posts (Atom)