We have been so busy around here it has been difficult to find the time to blog about everything we have accomplished! We have lots and lots of pics; however, one project is, usually, done in parts while working on another project at the same time. Ha! Actually we, generally, have multiple projects going on all at once! But today (before winter is, officially, here) I wanted to share a project we completed about a month ago, just in case you are looking for an easy outdoor activity for your family. And of course, I mean completed for now. We, obviously, have so much more work to do on our outside areas..... When I realized we had leftover pavers from our
Side Porch Outside Reveal and Rock Garden and
Rock Garden, I knew exactly what I wanted to do with them. I first saw these hopscotch ideas on Pinterest,
here and
here. I like to use a neutral pallet; so, I gravitated towards the second idea. I wanted it to look more like a walking path and not like rocks/pavers out in the middle of our yard. Chris wanted to be able to mow right over it and not have to trim around it :). I, also, wanted it to look more like a "family tree" with the numbers, as a tree trunk, leading up to the top of our "tree". We found rocks when we were
Cleaning Up The Left Side Yard and have tried to use them on various projects. I used three stones at the bottom because we have three boys, two stones in the middle because we have two girls, one stone at the top because we are one family, and seven stones to complete the circle because there are seven in our family. Eventually, I would like this space to look more like
this. Hailey and her friends are, extremely, happy with our new hopscotch area!
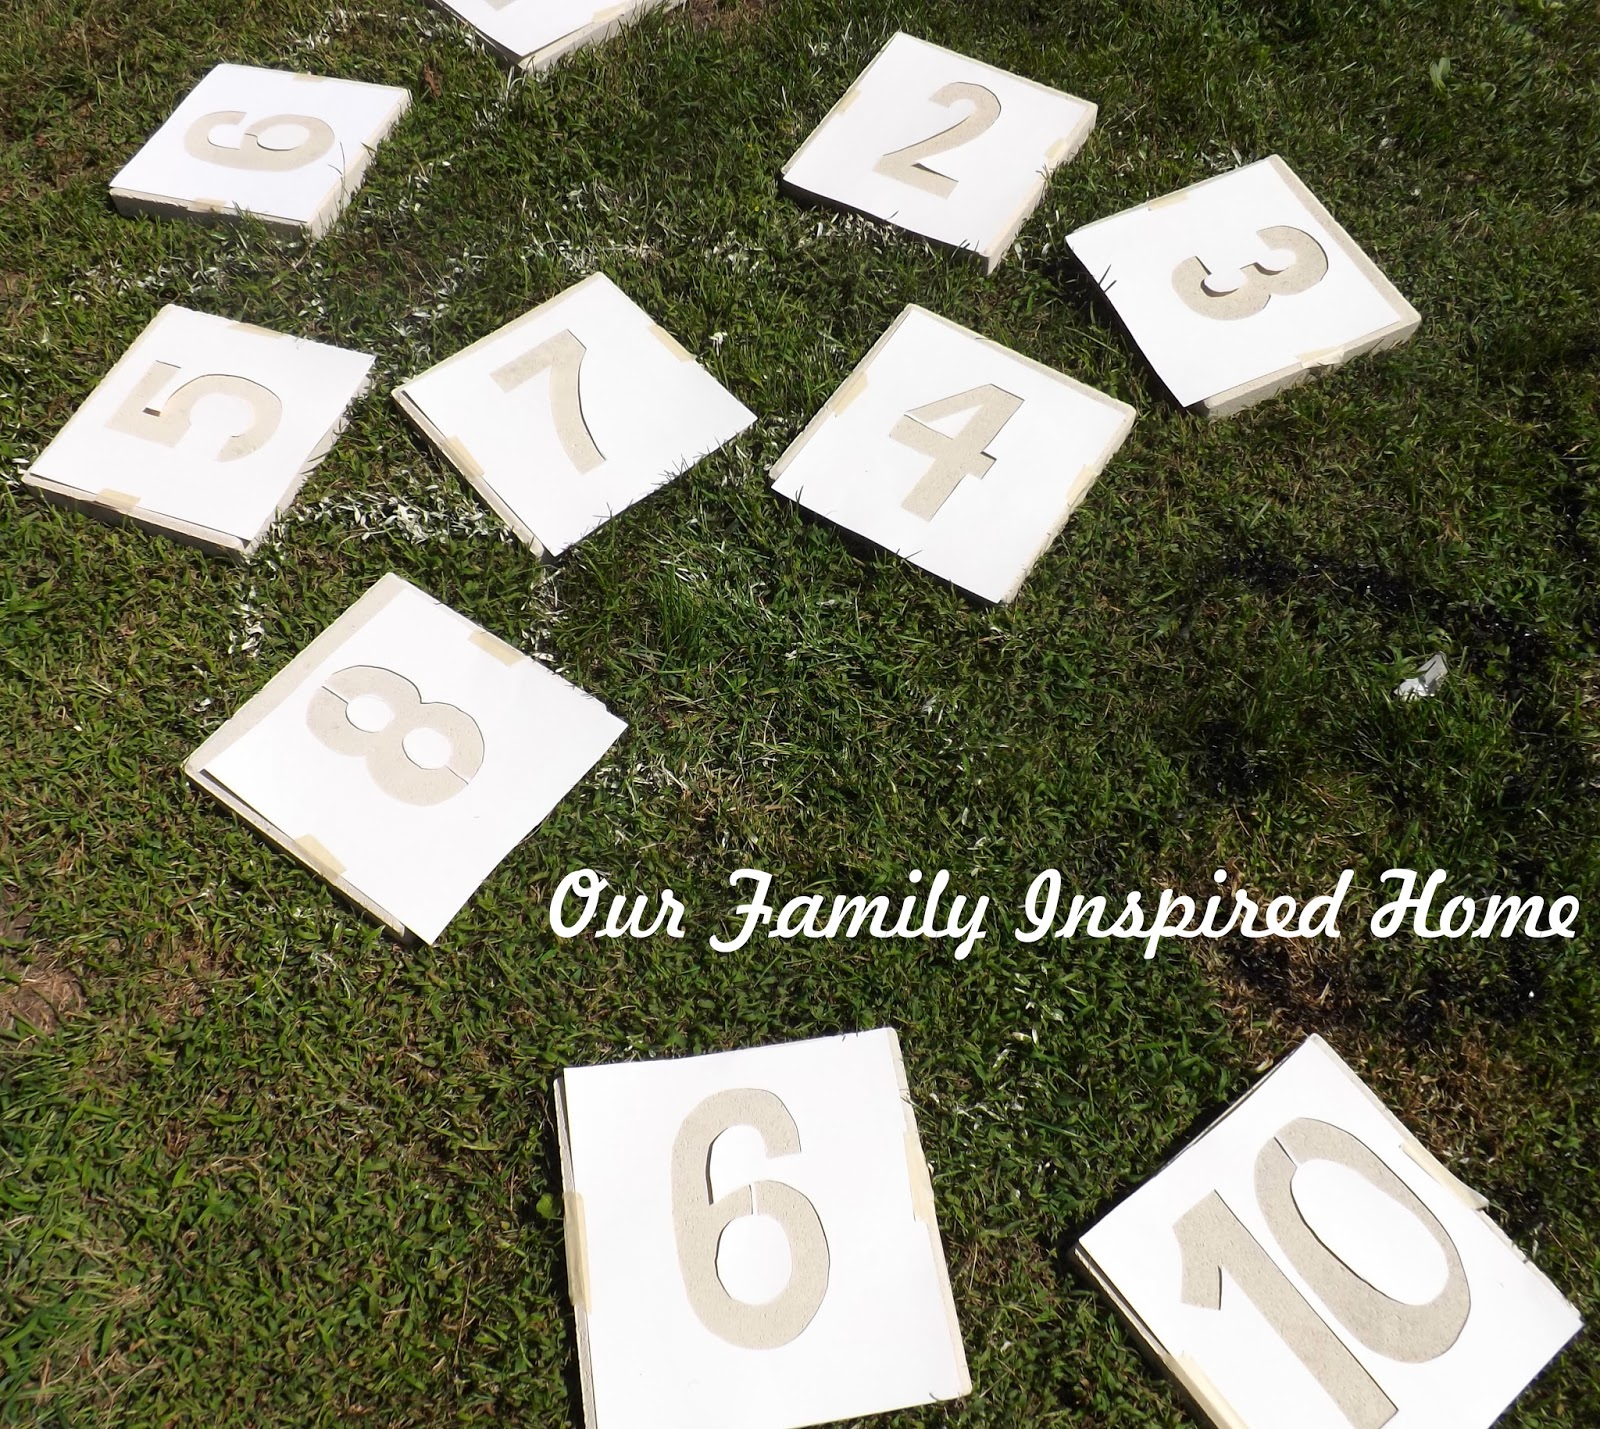
I showed Lexie how I wanted the numbers to look
and she free handed stencils for me.
I rolled on paint that I chose for the base of the pavers.
I, then, placed the stencils to center
the numbers on the pavers.
And spray painted the numbers black.
I placed the pavers and stones where
I thought I wanted them to get an idea
as to how the area would look.
After making sure the placement was right,
I dug the holes for each, individual,
paver and stone.
And this is how they look today.
Yes, that is frost on the grass.
We intend to landscape around the hopscotch area;
but, for now, the kids are happy with our new play space.
Thanks for visiting Our Family Inspired Home!